
Shopify Installation and Configuration Guide
GOOVAL
1. Download and Install the Plugin
① Log in to your Shopify admin Go to Apps → Shopify App Store.
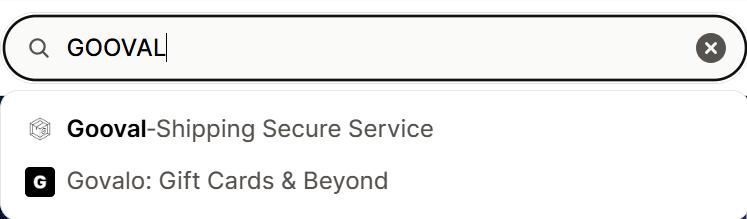
② Search and install Search for Gooval-Shipping Secure Service and click Install.
③ Confirm authorization Review the requested permissions (store, orders, products, etc.). Once done, you will be taken to the plugin overview page automatically.
Note No configuration in the theme editor is required after installation. The position of the benefit panel is set automatically by the final "Add Sections" step of the application process. If the benefit panel does not appear in the cart after installation, troubleshoot step by step with Q1 in Chapter 8.
2. Application and Configuration Process (4 Steps)
After installation, the application wizard starts. Complete the following 4 steps in order.
Step 1 Product Type Declaration
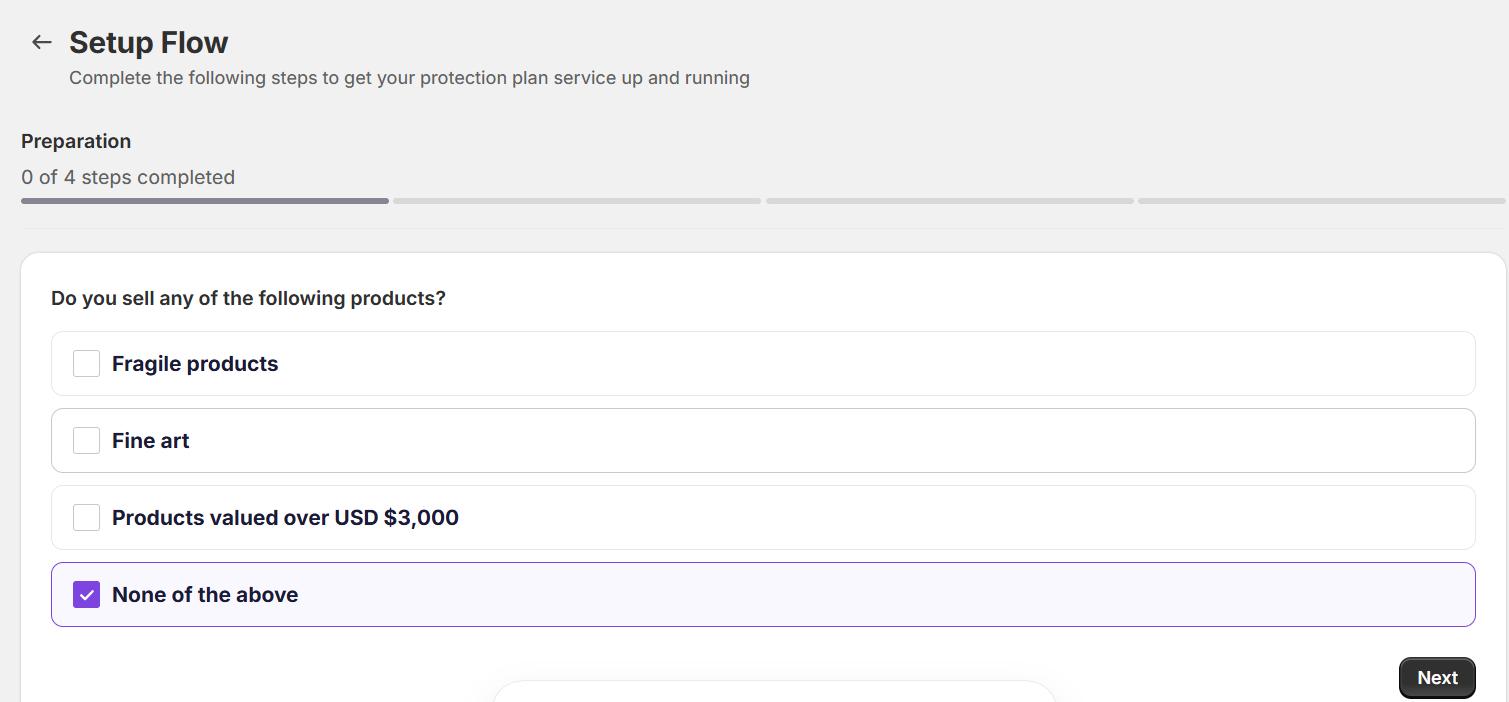
① Check product types Check the boxes that match your business (fragile products / fine art / items valued over $3,000), or select None of the above if none apply, then click Next.
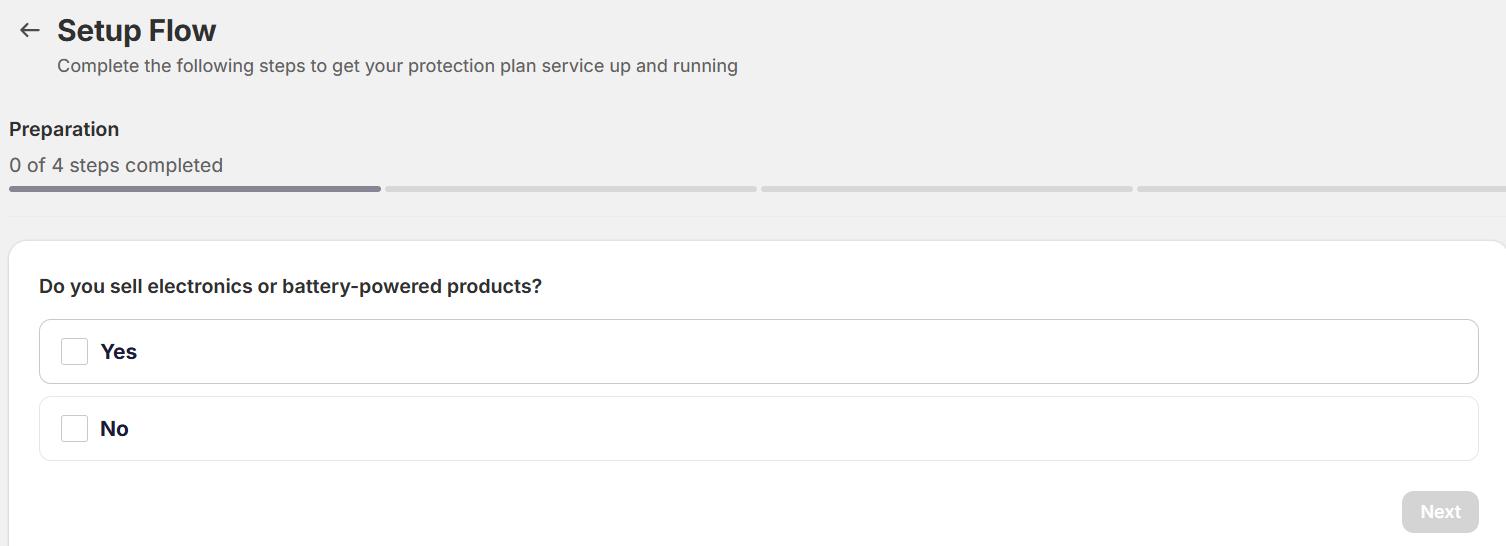
② Electronics or battery products Select Yes or No as appropriate and click Next.
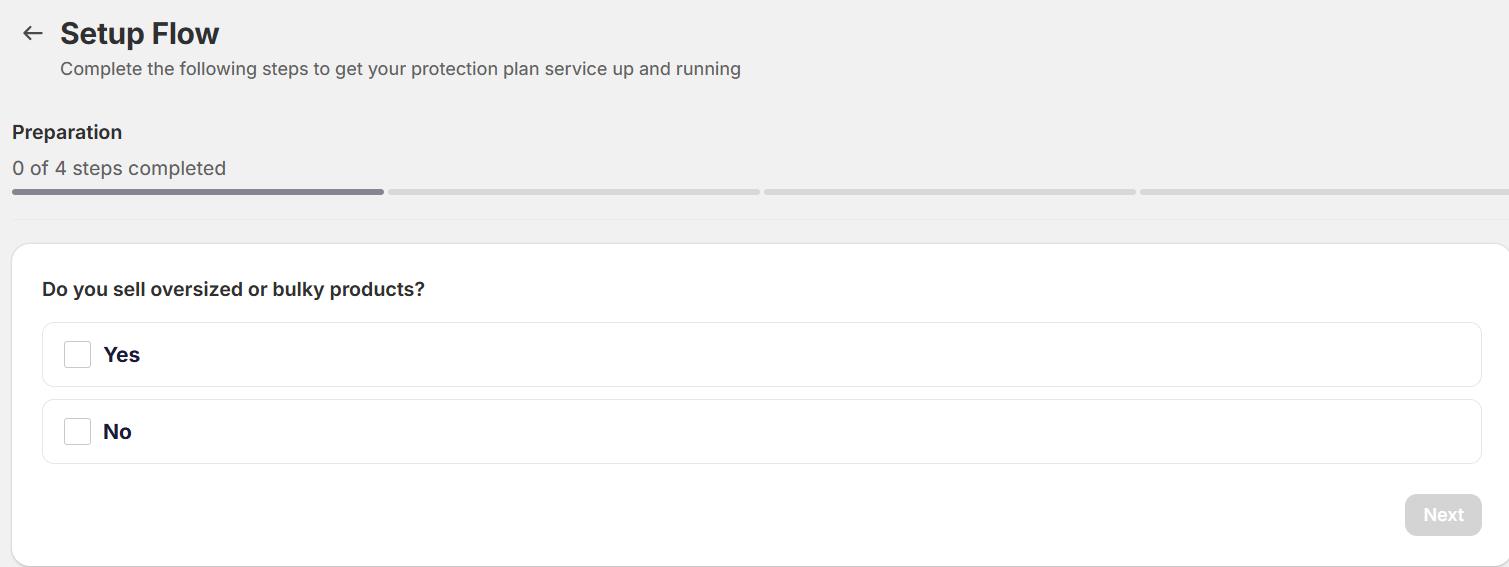
③ Oversized or bulky products Select Yes or No as appropriate and click Next.
Step 2 Select a Plan and Sign the Service Agreement
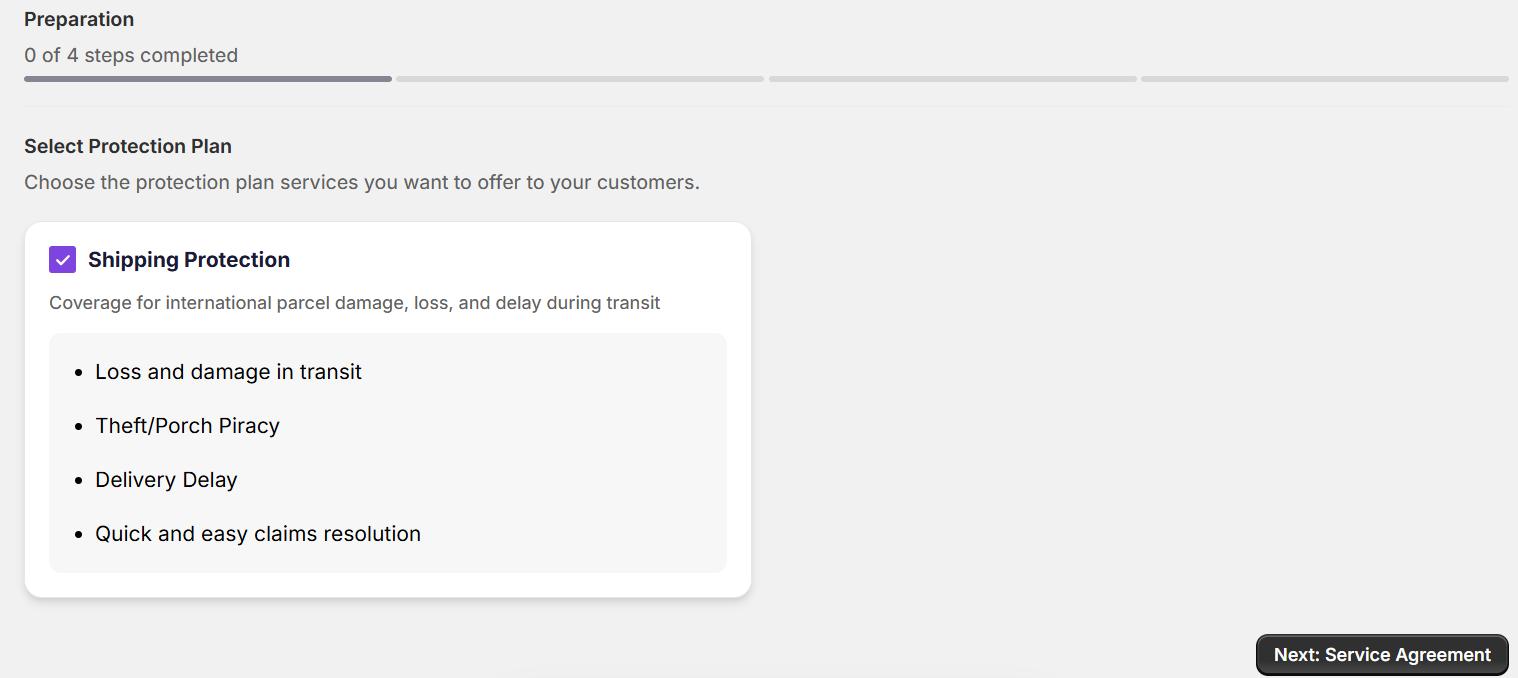
① Select a plan On the Select Protection Plan page, check Shipping Protection (the base benefit plan on the interface), then click Next: Service Agreement.
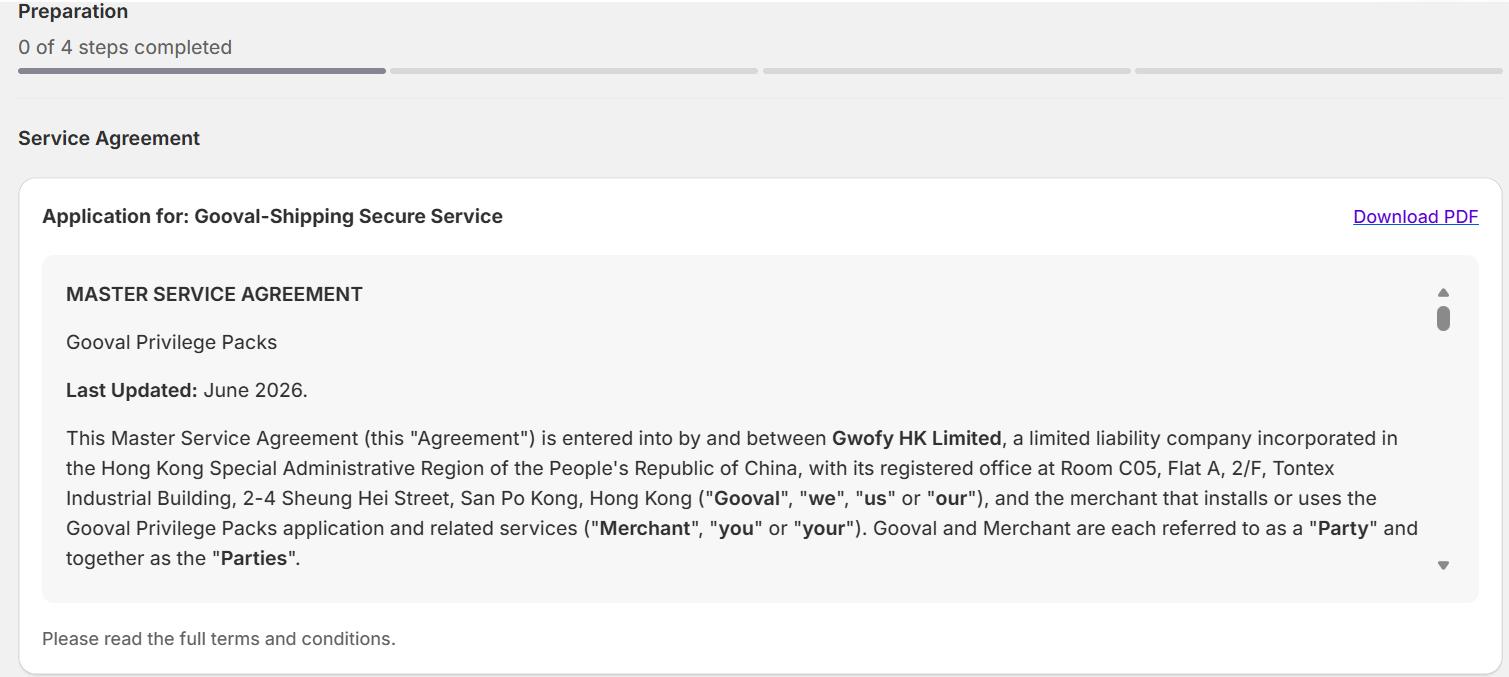
② Read the service agreement The page shows the full MASTER SERVICE AGREEMENT. Scroll through to read it in full, or click Download PDF in the upper-right corner to save a copy.
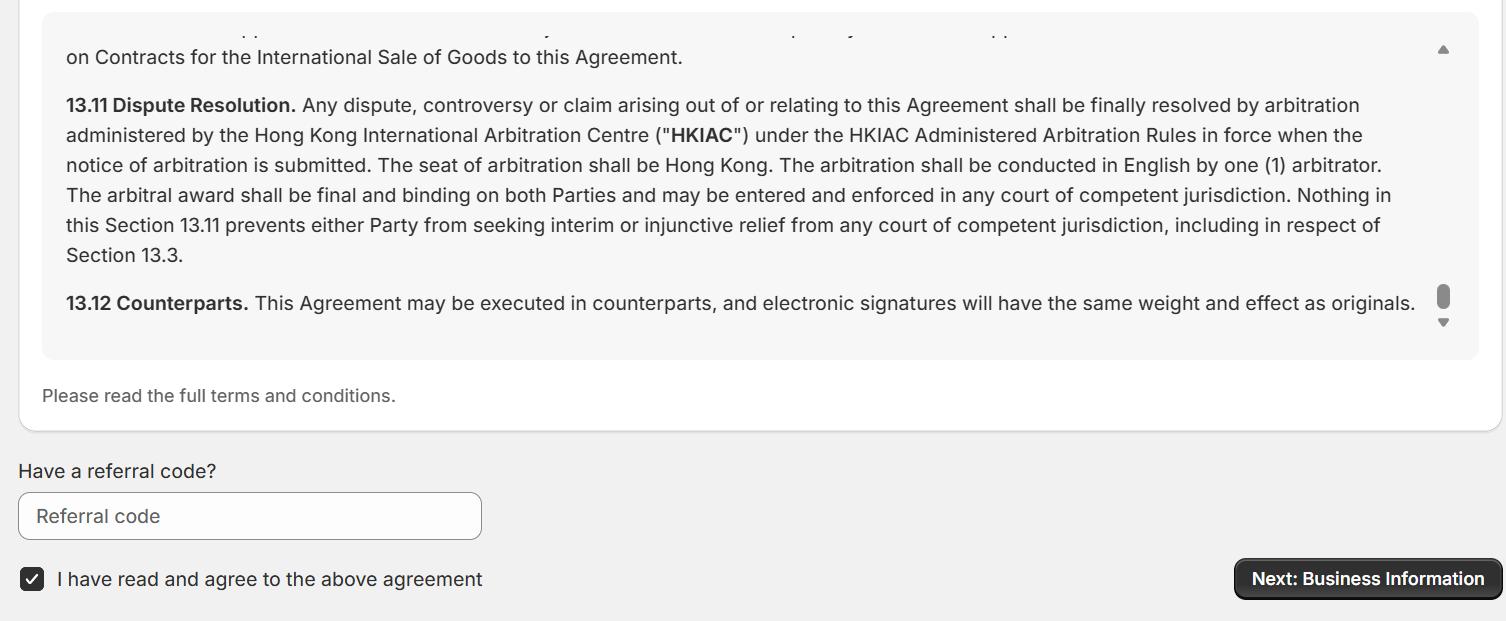
③ Agree and continue After reading to the bottom of the agreement, check "I have read and agree to the above agreement"; if you have a referral code, enter it in the "Have a referral code" field, then click Next: Business Information.
Step 3 Fill in Business Information
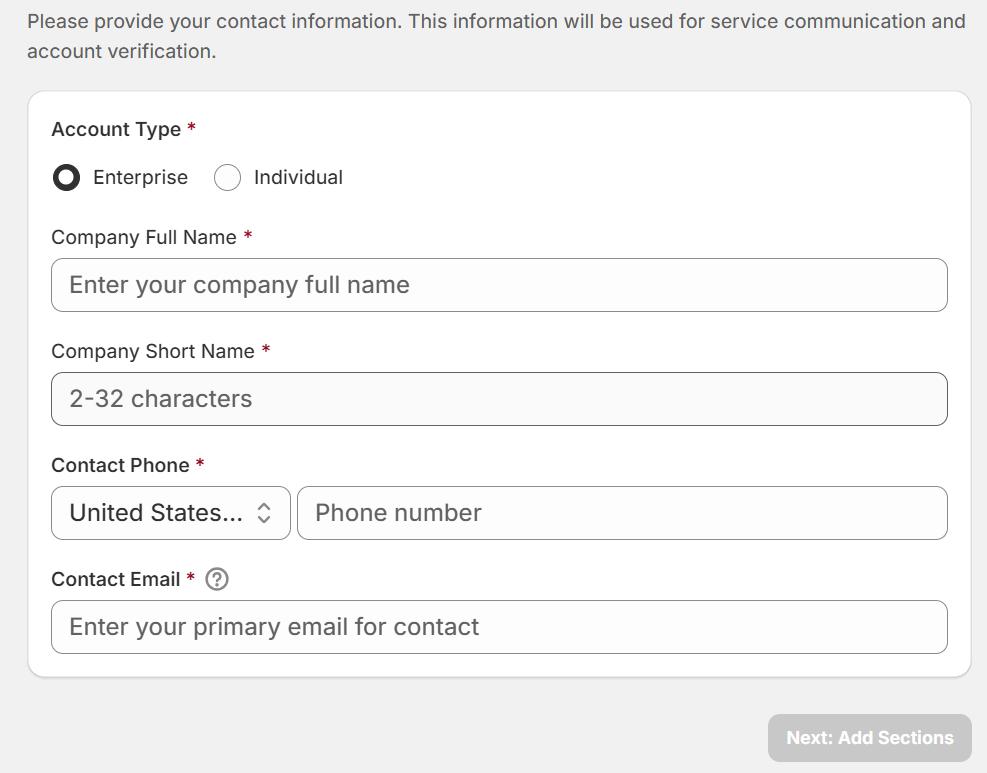
① Account type Select Enterprise or Individual.
② Business and contact information Fill in your company full name and company short name (2–32 characters), contact phone (select the country/region code first) and contact email, then click Next: Add Sections.
Step 4 Add Sections and Submit for Review
① Choose how to add sections On the Add Sections to Your Theme page, click Add Sections Automatically — the panel will be placed automatically in the checkout button area of the shopping cart, with no manual configuration needed.
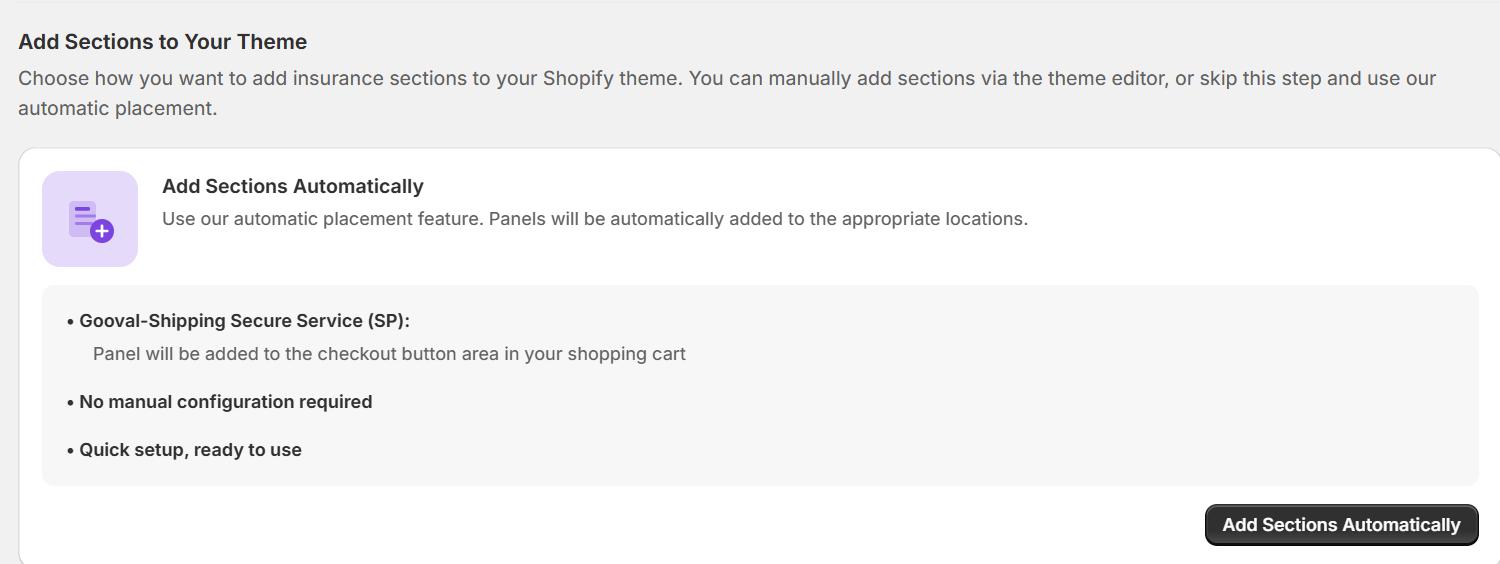
② Confirm automatic placement The page shows "Automatic Placement Active", and the panel position is Below Sidebar Cart summary.
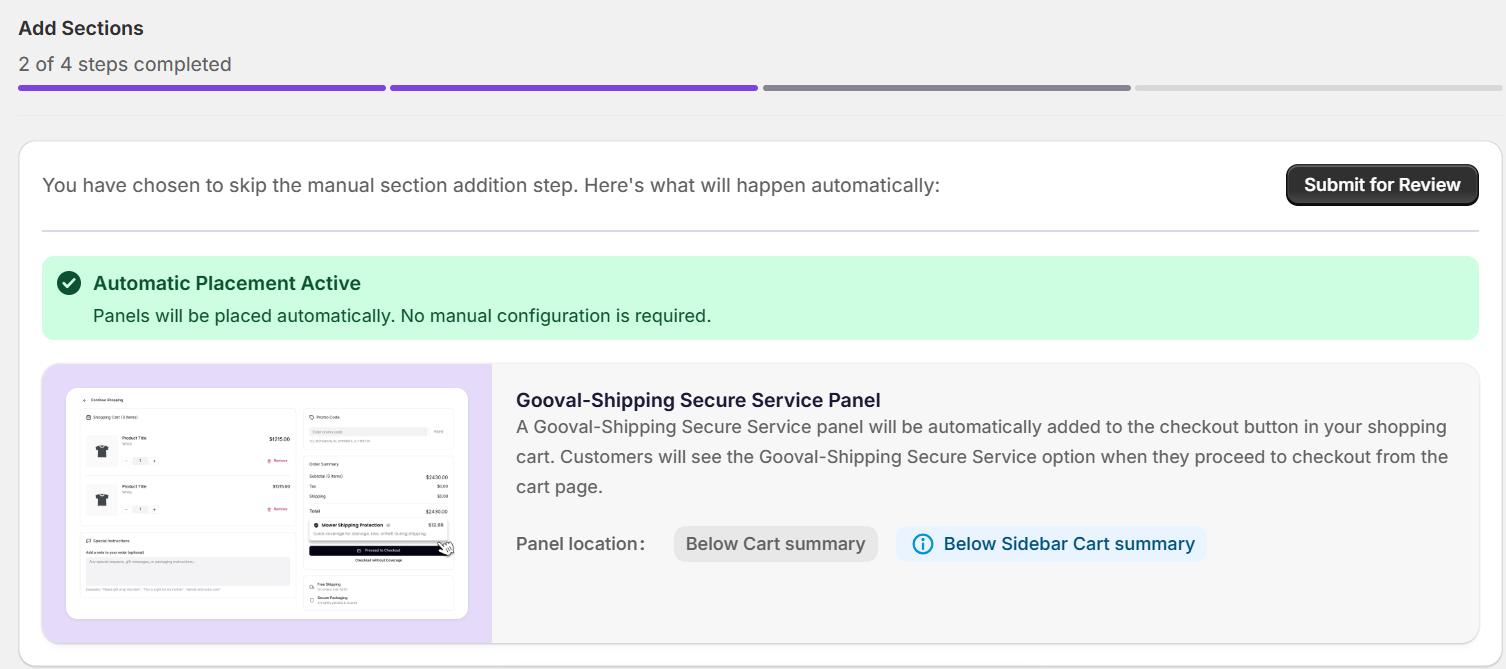
③ Submit for review After confirming the preview looks correct, click Submit for Review in the upper-right corner.
3. Review and Activation
After submission, the application goes through the following statuses in order. The benefit plan only becomes available to buyers after all of them are completed.
| No. | Review Status | Description |
|---|---|---|
| 1 | Application submitted | The system has received the application and started automatic pre-screening |
| 2 | Automatic pre-screening passed | Eligibility check and risk screening passed |
| 3 | Service activated | The service has been successfully activated |
| 4 | Manual review in progress | Gooval reviewers verify merchant eligibility, expected within 1–3 business days |
| 5 | Review completed | The benefit plan goes live and is displayed to buyers on the cart and checkout pages |
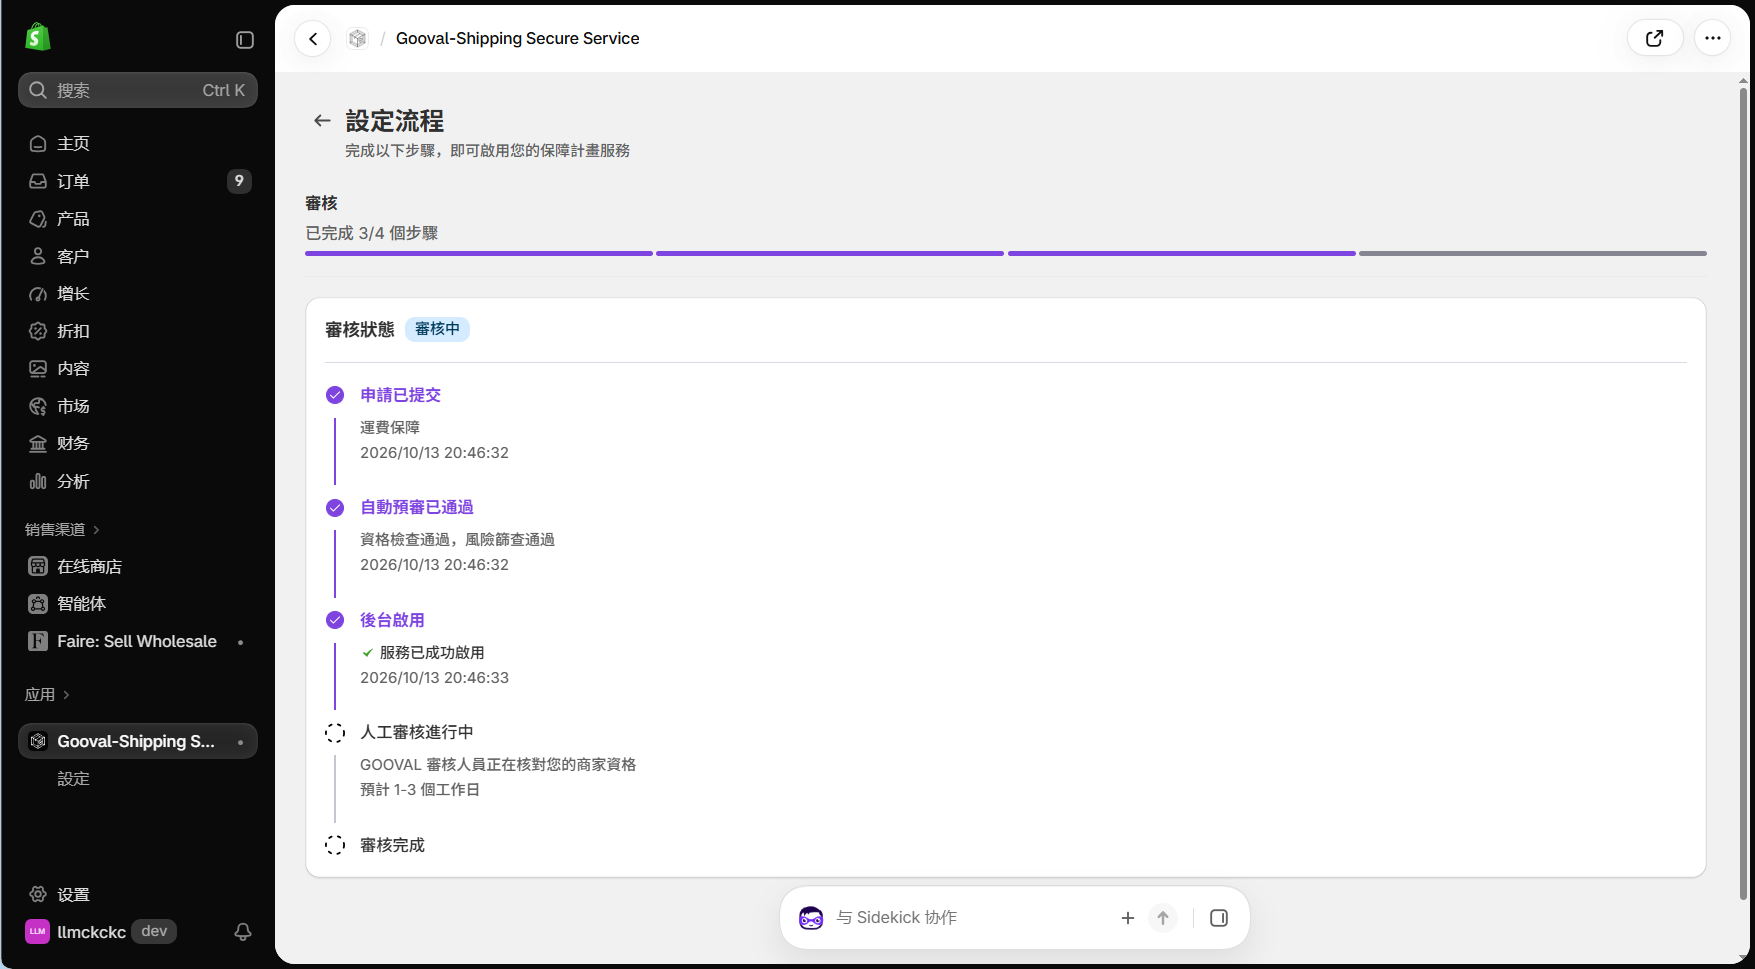
Activation note Until the review is completed, the benefit plan will not be shown to buyers on the cart or checkout pages."Automatic placement" only decides where the panel sits; it does not mean the plan is active. So when a seller asks "when will it be visible on the storefront", the answer is based on the review completion time, not the submission time.
3.1 What can be done in parallel during the review
- • Set a custom markup (Chapter 4);
- • Configure benefit templates (Chapter 5);
- • Bind a payment card (Chapter 6).
4. Set a Custom Markup
① Open pricing settings Shopify admin → Gooval plugin → Settings, to view the product's base service fee (Base Rate).
② Set the markup Enter your markup percentage in the Your markup field of the Benefit package pricing markup section, and the page will show the Final Pricing.
③ Save Click Save pricing markup to save.
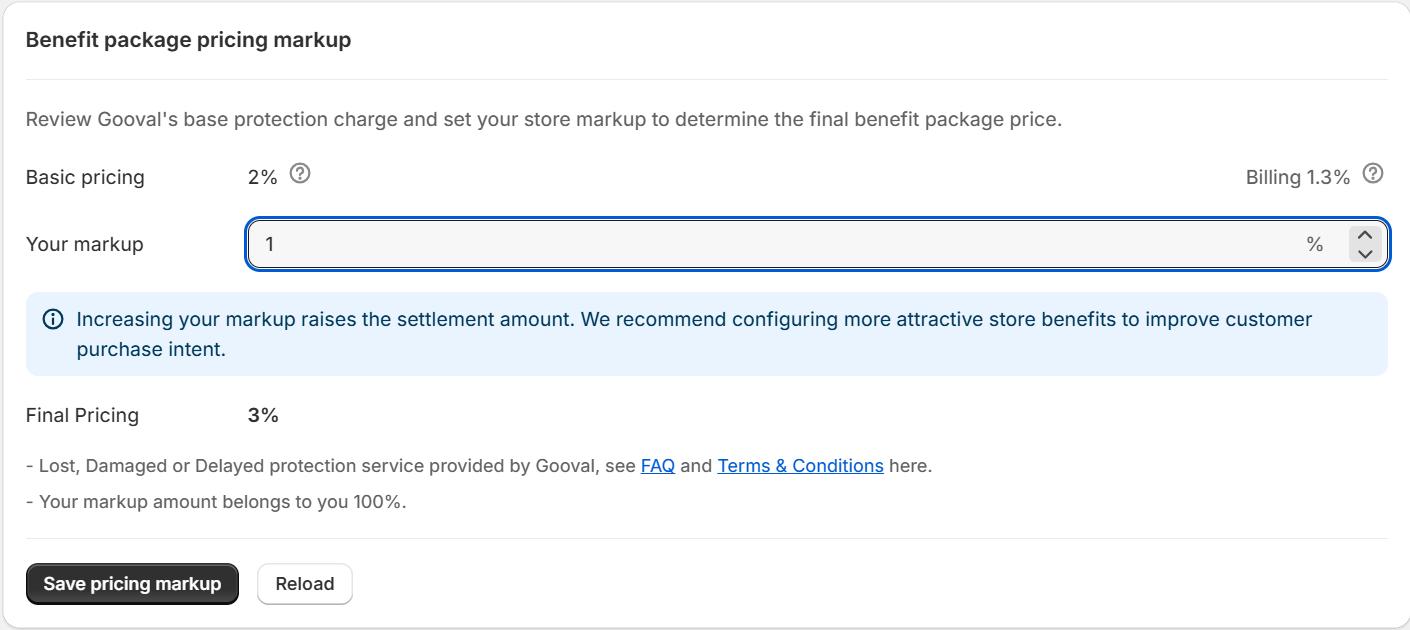
Revenue ownership 100% of the revenue generated by the markup belongs to the seller; the service provider does not take a share.
5. Configure Benefit Templates
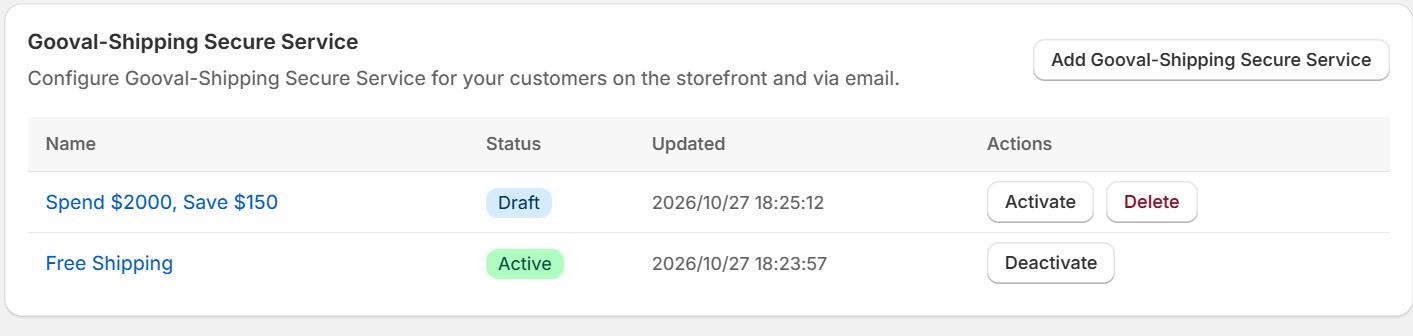
① Add a template Click Add Gooval-Shipping Secure Service and choose from different templates to customize the 2–3 lines of benefit copy shown to buyers (e.g., free shipping, order discounts).
② Complete all fields The template name and description must be filled in completely (including names in each language; do not leave them blank); the usage rule is valid for 30 days and limited to one use.
③ Activate Click Activate; once the status shows Active, it takes effect. A store can have multiple templates at the same time, and any of them can be deactivated with Deactivate at any time.
6. Bind a Payment Card
① Enter the seller admin Click the external-link icon at the upper-right corner of the Gooval plugin inside the Shopify admin to open the Gooval seller admin.
② Bind a credit card On the Finance page, bind an international credit card with sufficient credit (Visa / Mastercard supported) for future billing settlements.
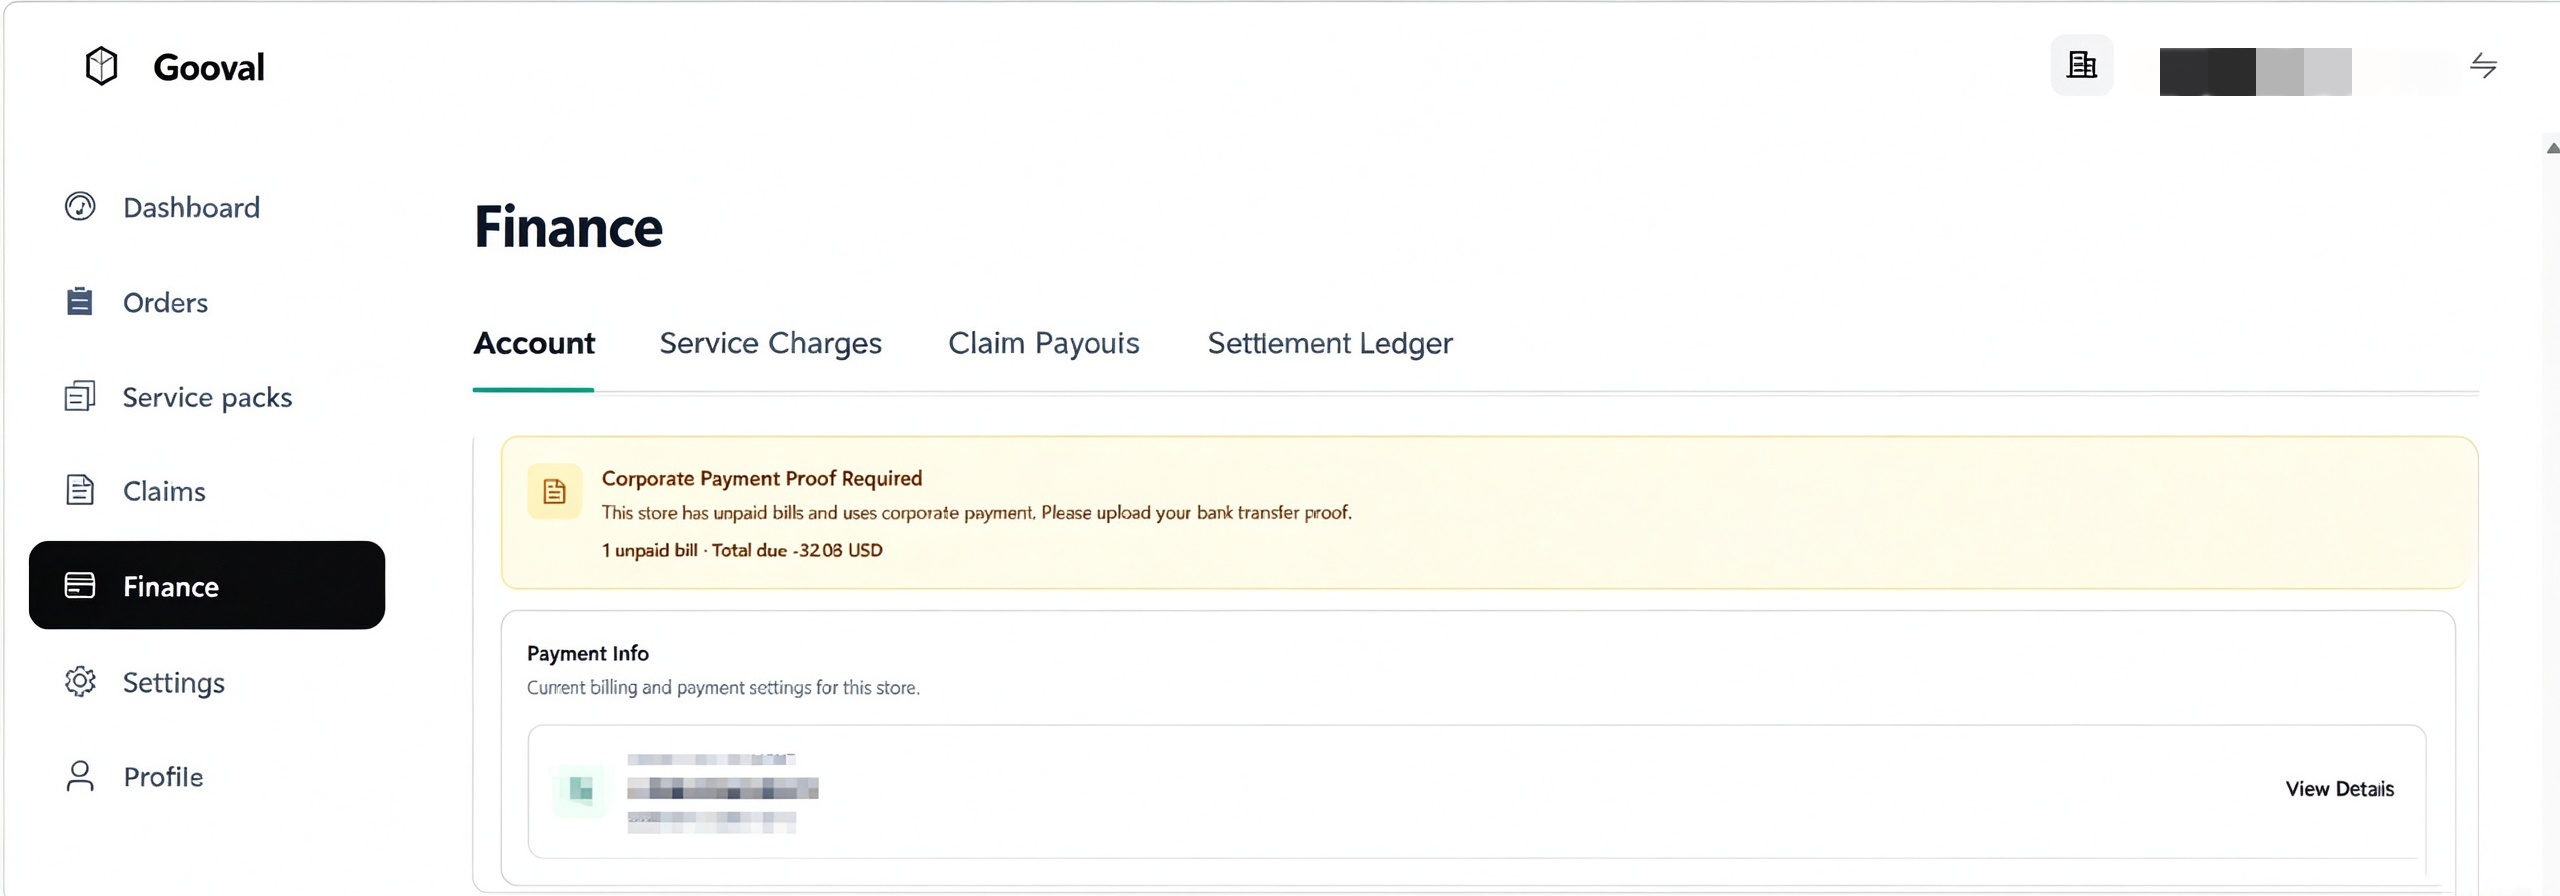
Note An expired card, insufficient credit, or a failed charge will interrupt the service. Remind the seller to update the card in time; handle any payment alert in the admin on the same day it appears.
7. Billing and Earnings Dashboard
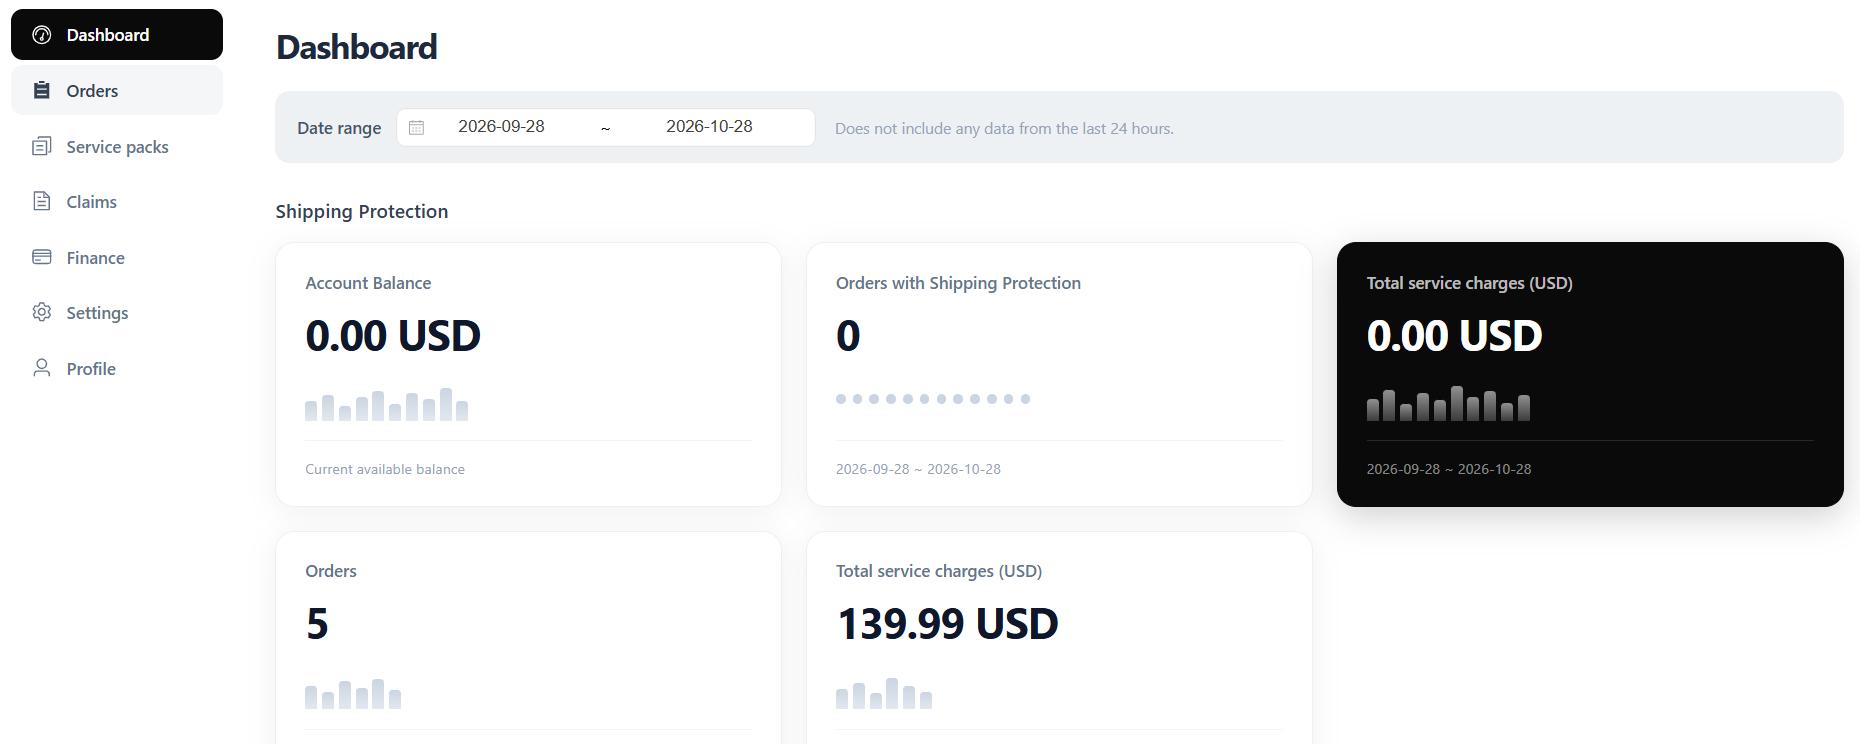
- • Dashboard: view summary data such as account balance, the number of orders covered by the benefit plan, and benefit fee revenue.
- • Orders: view order details, including settlement status, benefit fee amounts, and markup earnings.
- • Finance: view service fee bills, payment records, and the settlement ledger.
8. FAQ and Support
Q1 The benefit plan does not appear on the cart or checkout page
Troubleshoot in the following order; most issues can be confirmed at the first step:
① Check the review status Go to the plugin's application wizard → Review step, and check whether the status is "Review completed".Manual review takes about 1–3 business days; nothing is shown on the storefront before it is completed.
② Check the theme embed toggle Shopify admin → Online Store → Themes → Customize → App embeds in the left sidebar, find the Gooval Widget, make sure the toggle is ON, click Save in the upper-right corner, then refresh the cart page.

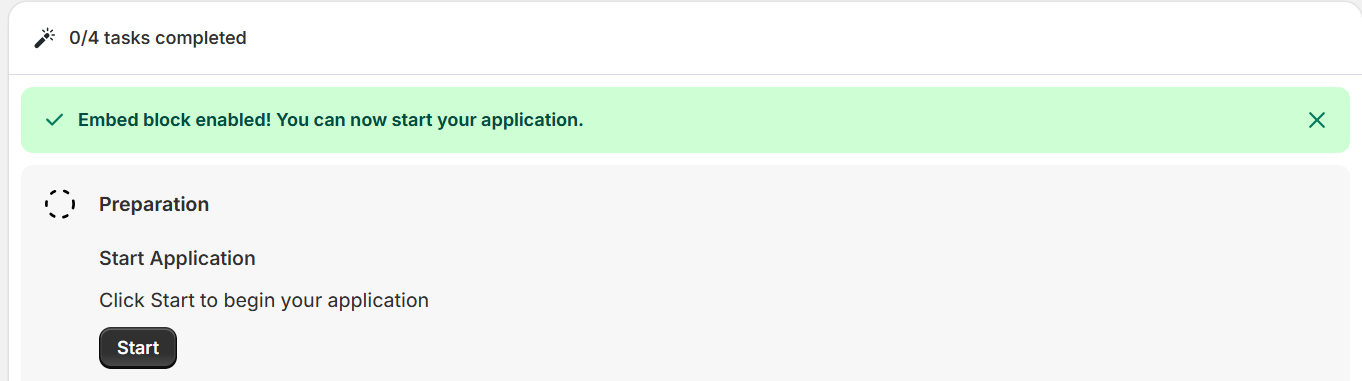
③ Check the embed confirmation After successful activation, a green "Embed block enabled!" message appears at the top of the plugin overview page, indicating that the embed block has been enabled.
④ Clear cache and retest Reopen the cart page in the browser's incognito mode, or try a different device or network.
⑤ Still not showing Submit a request via the support channels below, with your store domain, installation email, screenshots, and the time the issue occurred.
Q2 How long after submission until it is ready to use
Manual review takes about 1–3 business days, based on the review completion time; complete information shortens the wait.
Q3 What to do if the review requests additional information
Complete the information as prompted on the review page and submit again; if the prompt is unclear, contact support with your store domain and Gooval will investigate the specific cause.
Q4 What markup percentage is appropriate
It is up to the seller. 100% of the markup revenue goes to the seller; we recommend referring to market prices for similar protection plans while considering buyer acceptance.
Q5 What if the product type declaration was filled in incorrectly
Do not submit the application again; contact support directly and specify the items that need to be changed, and Gooval will handle it.
Q6 When does a benefit template take effect
It takes effect immediately after clicking Activate; buyers see only Active templates on the checkout page, while Draft templates are not displayed.